Emily Bryson ELT

visual templates

A visual template by Emily Bryson ELT.A hand drawn sign post in the shape of an arrow facing right, to signify the future. Inside there is space for students or participants to add their ideas: a thought cloud with stars to add dreams and ambitions, a target to add goals and five arrows to add mini-goals or tasks to complete to achieve those goals. This is taken from Emily's resource pack Pathways to Success. Available on her website www.EmilyBrysonELT.com

A graphic for goal setting.

At the beginning of the year, I find it helpful to think about my goals and ambitions for the year ahead. There’s tons of research out there showing that if you write down clear goals, you’re more likely to achieve them. Even more so if you actually draw them.

I created this visual template to help this process. You can use it for you, or with your classes. Write on the .jpg provided or draw your own. I recommend the latter as it will be more fun!

In the section with the target, add one goal for each arrow. Consider different aspects of life, e.g. family & friends, personal development, work, health, money, etc. Be mindful that goals should be flexible and acheivable. I often find my goals change with time.

The thought bubble with stars represents dreams or aspirational goals. These can be things that you or your participants don’t have as much chance to influence. For example, one of my aspirational goals is to visit friends in Spain in the summer, but this is covid dependent.

In class, once students have completed or drawn their own goals, ask them to share their goals and discuss how they might achieve them. You could use language such as ‘I want to..’, ‘I’d like to…’, ‘I hope to…’, ‘It’s my dream to…’, ‘I’d love it if,…’, ‘I’m going to…’, ‘I plan to…’, ‘I will…’ etc, depending on their level. Draw attention to any emergent language.

If you like this, you’ll love Pathways to Success: Visual Tools for Goal-Setting, Self-Evaluation and Progression.  In it, you’ll find sixteen visual tools to use, re-use, adapt and repurpose with students, teams, individuals and even to help you plan your own big goals. 

To try before you buy, check out this webinar (start about 7 mins in to skip the intro! 


A graphic for goal setting. Read More »

Feedback comes in many forms. But the best is a fairy!

Feedback is crucial for developing high quality learning experiences. As a materials writer, I value the editorial process because it helps me develop my content from first to final draft. As a teacher, I encourage my students to tell me how they feel about the content of my lessons, and what I can do to support their learning. As a teacher trainer, I am always keen to hear what participants thought of my session so I can make changes the next time I deliver it.

Feedback comes in many forms. Pun intended. It’s true, often feedback comes in the form of a form. Survey Monkey and Google Forms are the ‘go to’.

As a graphic facilitator, I can tell you that there are much more creative (and fun) ways of receiving feedback. In this post, I’d like to share with you to one of those methods.

Let me introduce the Feedback Fairy.

Visual capture sheet inspired by Martha Harding at Scottish Refugee Council.

I was first introduced to the Feedback Fairy by Martha Harding while I was on secondment at the Scottish Refugee Council. Martha had lots of cool ideas for facilitating sessions, and I added this one to my toolkit. I drew this version for the Sharing Lives Sharing Languages project that I was managing at the time.

The feedback fairy is best used as a flipchart, and participants add post-it comments in the various sections. You can do this online using the annotation tools in Zoom or using post-its in Jamboard. If you want individual feedback, you could photocopy one per participant.

Participants are guided to consider:

Heart – things they loved

Toolkit – tools, resources or activities they’d take away

Speech bubble – things they’d tell others

Brain – things they thought or learned

Wand – things they wished had been included

Bin – things they didn’t like

For my first cohort of Engaging Learners with Simple Drawings participants, it was a no-brainer to use the feedback fairy. But since the course focus was on drawings, I did something a little different.

I asked them to draw their own feedback fairies.

I’d like to share some of them here with you. I was blown away by the creativity, skill and imagination. And how much they all loved the course!

Credit: Annette Flavel
Credit: Eve Sheppard
Credit: Nergiz Kern
Credit: Cheryl Palin

Loved this? Want to learn more Graphic Facilitation techniques specifically for ELT professionals? Join one of my Online Courses! Follow this link to find out more: www.emilybrysonelt.com/all-courses/

Feedback comes in many forms. But the best is a fairy! Read More »

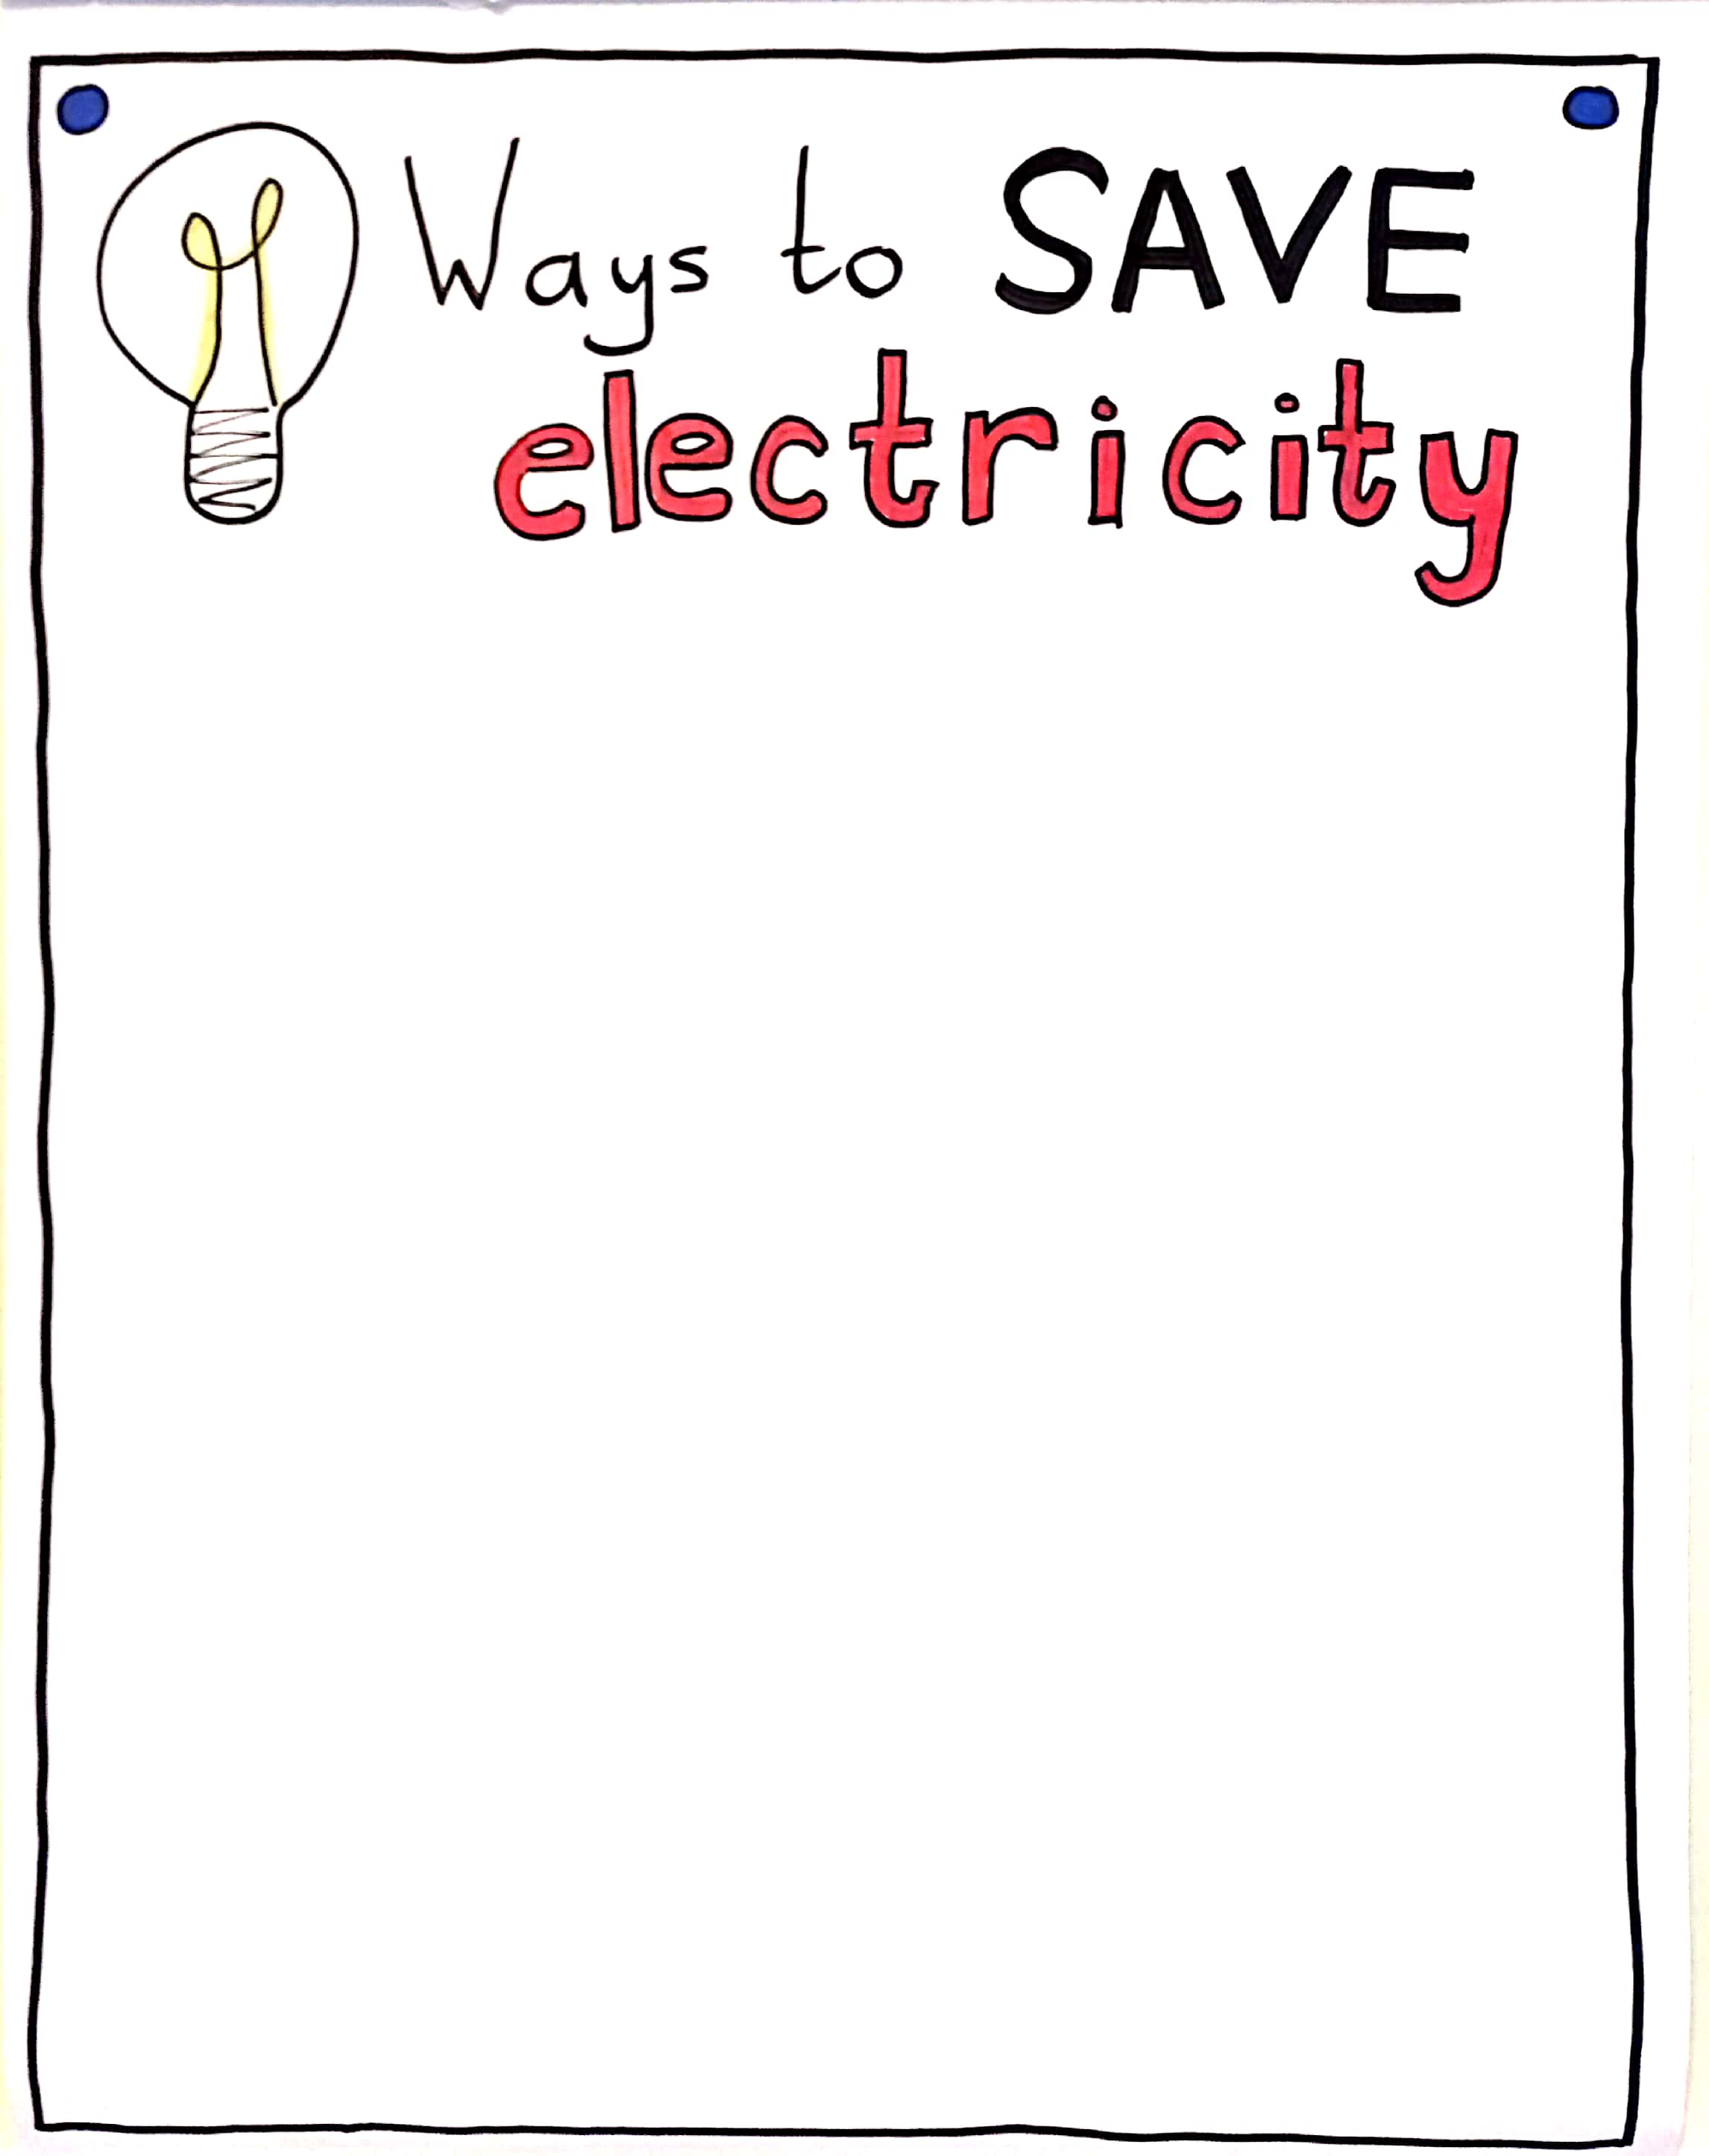
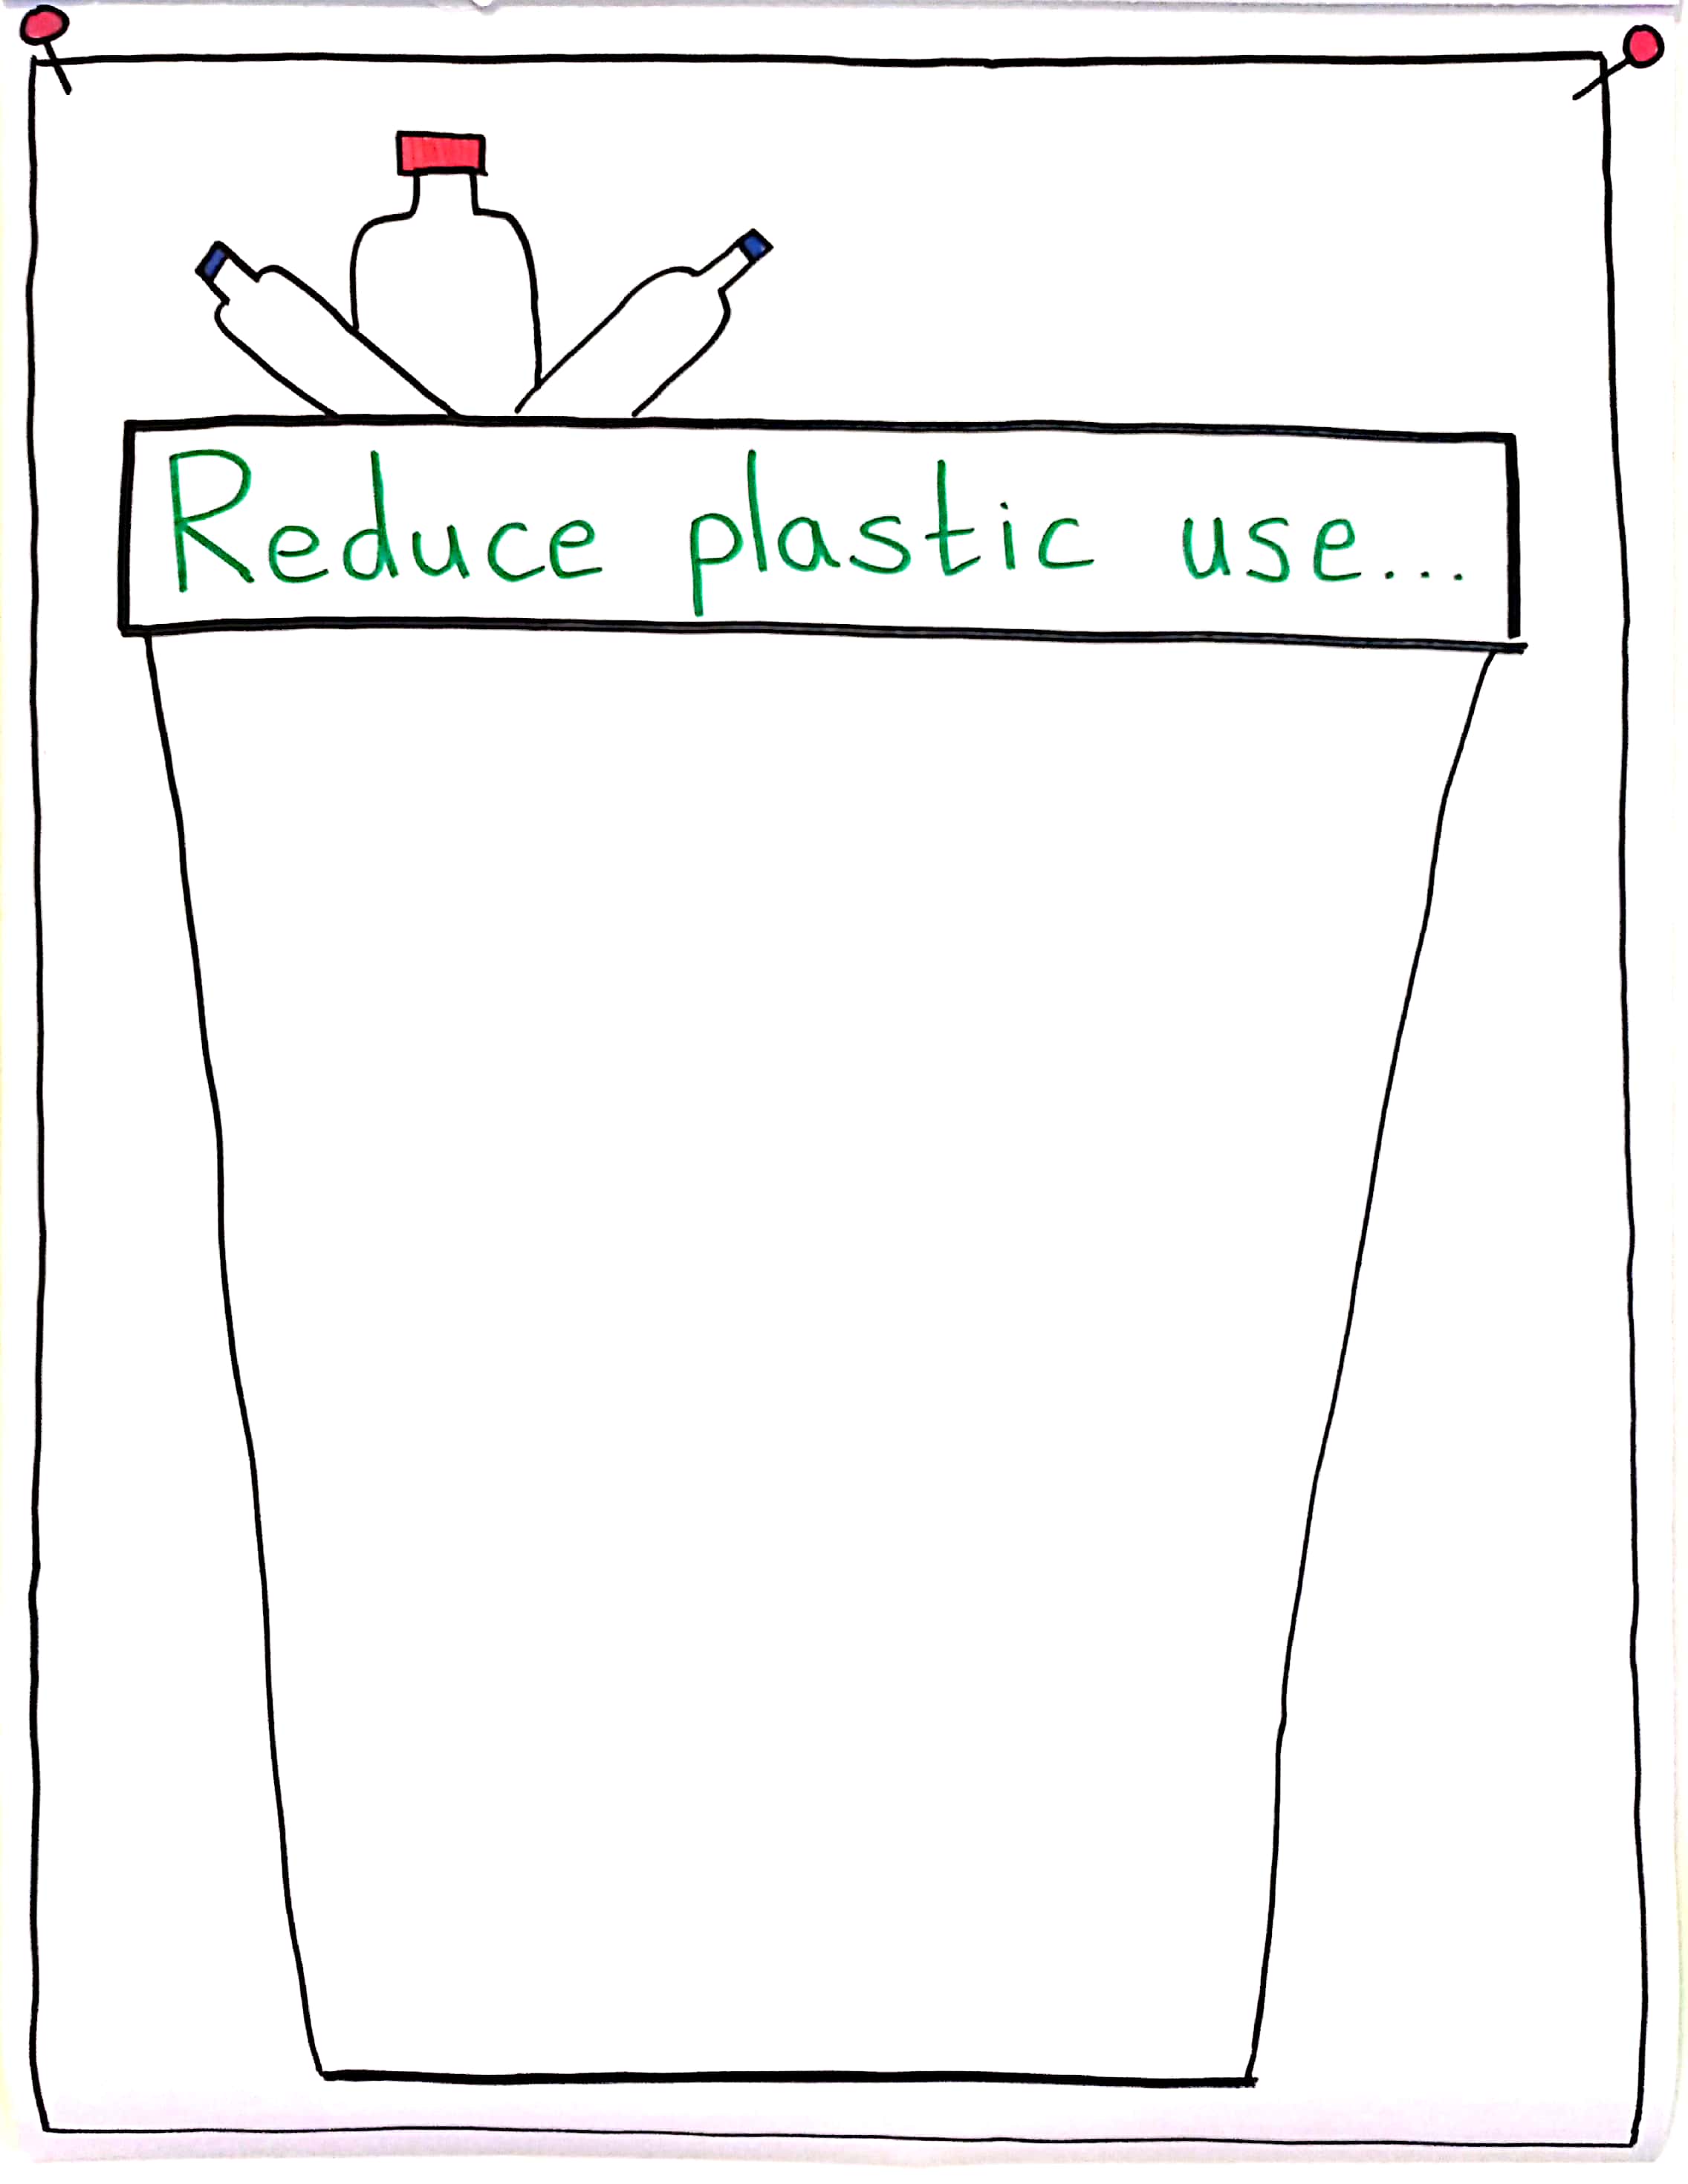
Visual templates for engaging environmental discussions

I recently read Dan Barber’s ELT Footprint blog about giving your lessons a sustainability twist. It inspired me to create some visual templates to stimulate environmental discussions in the classroom.

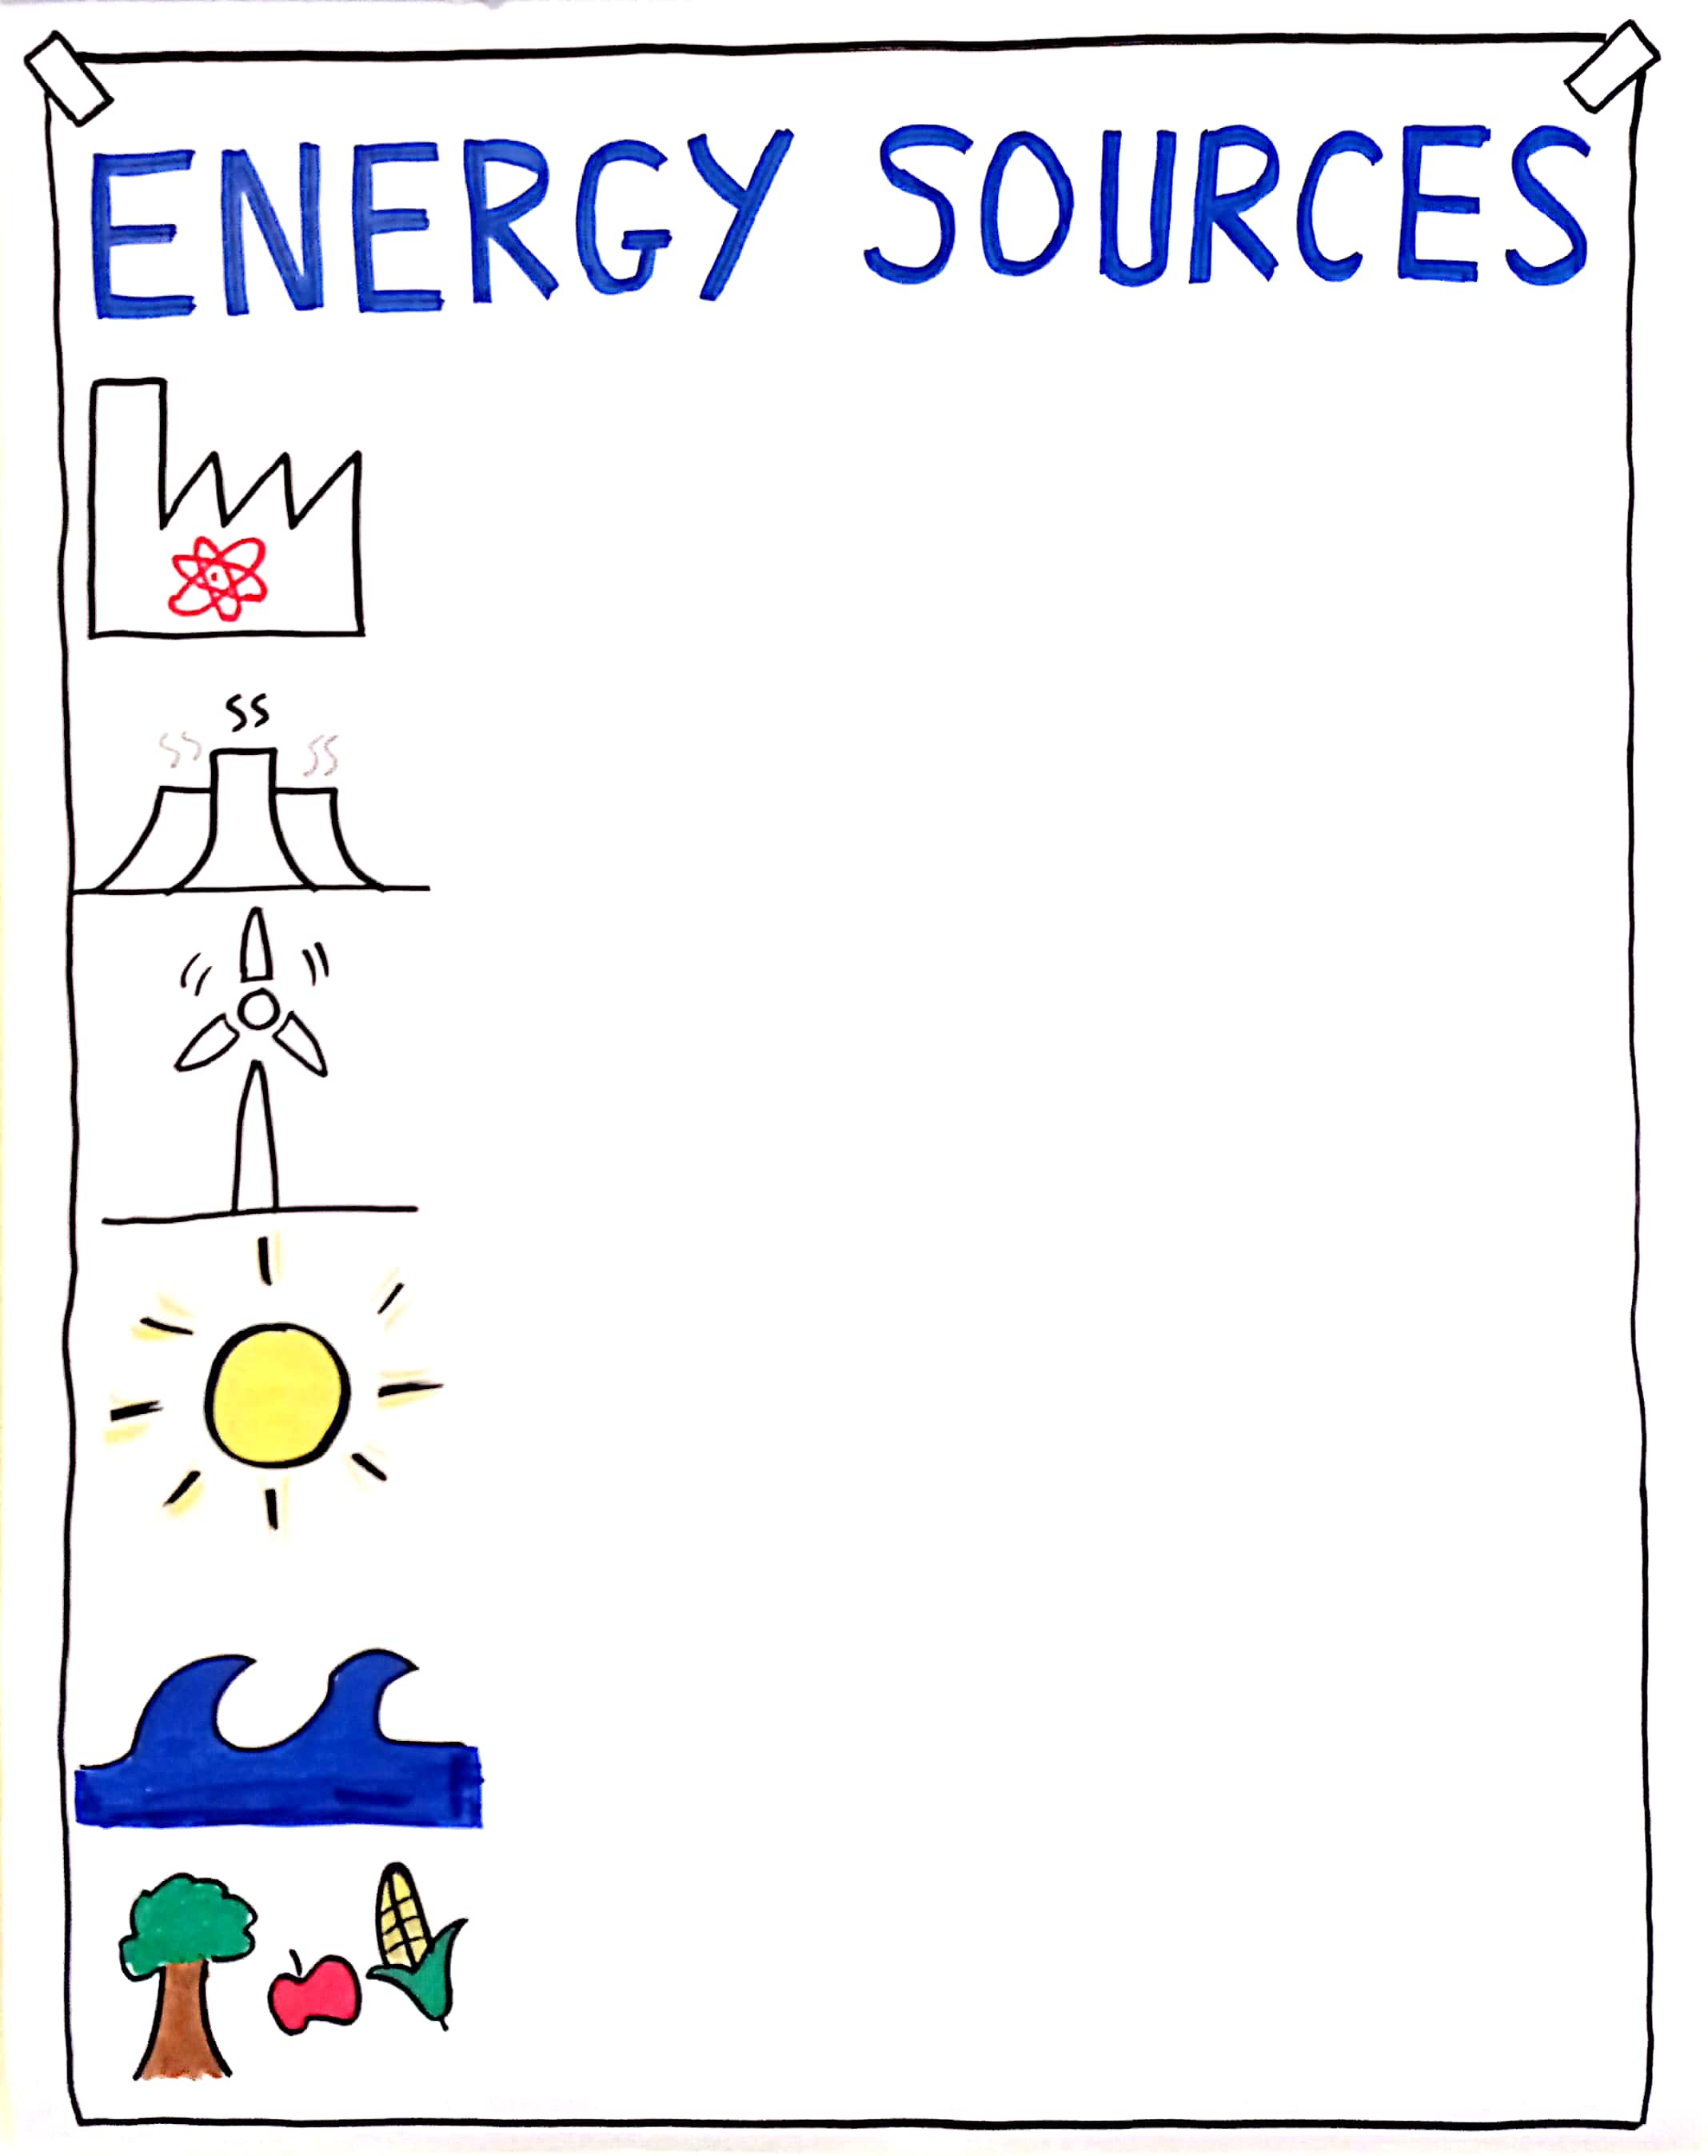
A visual template is a tool commonly used by graphic facilitators to inspire workshop participants. It is essentially a technique which turns a plain flipchart or whiteboard into a visual prompt to guide and focus students’ attention. It uses simple iconography to represent topics and bold text to catch their eyes and imaginations. Put simply, it is far more exciting and inspiring than a boring old blank white space.

Take these templates on saving electricity or reducing plastic, for example. Students add their ideas using post-it notes, writing directly or by adding their own drawings. Prior to this activity, you could ask them to read or listen to some information on either topic.

In a face-to-face classroom, these templates can be pre-drawn on flipcbart paper and displayed around the room or passed between tables, carousel style. Students can then walk around or simply add their ideas when they have that template. The teacher can then facilitate discussions using the students’ ideas or students could use the ideas to produce some written work. The templates can be stored and re-used, or students could add their own drawings to them and the final piece be displayed on the wall.

In a digital classroom, the templates work well on a platform such as Jamboard, where students can add their own digital post-its, then discuss their ideas in a breakout room. If your learners have strong digital skills, you could give each a copy in a word document and they can add answers in a transparent text box.

When using this visual template about Energy Sources, as a dynamic receptive skills comprehension task, you could ask learners to read or listen to some information, then ask them to put notes of what they learned in the relevant section. You could later ask them to add their views on the advantages and disavantages of each energy source using two different colours of post-it notes. Then have a discussion about the topic and/or write about it.

Visual templates are fabulous as they can be used (and re-used) for many topics.

If you’d like more ideas for embedding environmental topics into your lessons, I’m giving away 3 free lesson plans! Click this link to find out more. 

Join one of my online courses!

Would you like to learn to create hand-drawn visuals to stimulate student creativity and communication? Why not join one of my Online Courses? Follow this link to find out more: www.emilybrysonelt.com/all-courses/

Visual templates for engaging environmental discussions Read More »